

Set up the Organization
You will need to update your organization details prior to making your first decision

In this section learn how to:

Set Up Organization Profile
Manage Organization Details
Update Financial Information
Add Decision Groups
Configure Role Permissions
Update Your Profile
Set Up Organization Profile
Manage Organization Details
Update Financial Information
Add Decision Groups
Configure Role Permissions
Update Your Profile
Add Decision Groups
Decision Groups allows you to create groups of people that can be assigned to different project decision types. Using Decision Groups, you can control accessibility to decisions, maintaining confidentiality and controls, where necessary.
Examples of how to think of Decision Groups:
- Functional: Sales, Finance, Operations etc.
- Project Based: Project X, Project Y, Project X etc.
- Strategic: Board, Executives, C-Suite, Management etc.
- Cross-Functional: Transformation Projects, New Product Development, Customer Experience (CX) Group
- Regional: APAC, North America Sales Team, EMEA Operations
- Business Unit: Business Unit X, Business Y, Business Z
Decise allows you to choose any combination of these, there is no limit on the number of Decision Groups you can add.
What You’ll Need:
- Decide which structure you will use to make decisions using Decise
Decision Group Access Rights
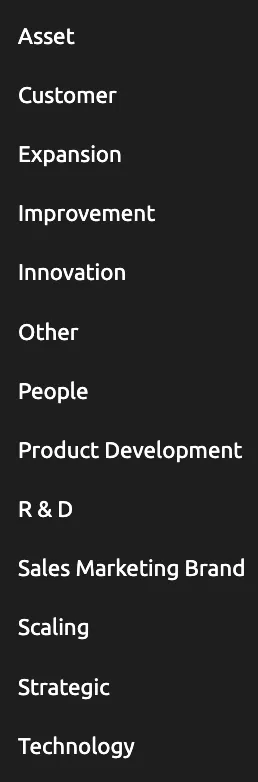
When you add a Decision Group you need to allocate the Decision Sub-Types that this group is permitted to manage. The list of Decision Sub-Types includes:
Users within a Decision Group have instant access (still conditional on their assigned Decise Role) to any decisions within the selected Decision Sub-Types.
For a User to have access to a decision that is not managed by the Decision Group they are in, they will have to be specifically invited to that decision.
Similarly, if you have a User that is in a Decision Group but you do not want the User to access a certain Decision Sub-Type (even though other Users in the Decision Group can continue to have access), you can remove this access to that Sub-Type in the Role Permission feature.
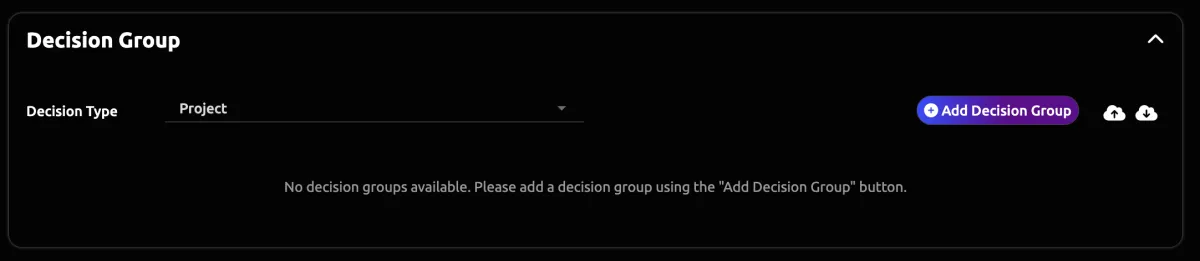
Adding a Decision Group
1. Go to the Organization navigation menu on the left panel.
2. Click Decision Group to expand the menu.
3. Choose to add a Decision Group manually or via CSV Import.
Adding a Decision Group Manually.
1. Select Add Decision Group
2. Write the name of the Decision Group
3. Press Enter
The Decision Group is instantly added
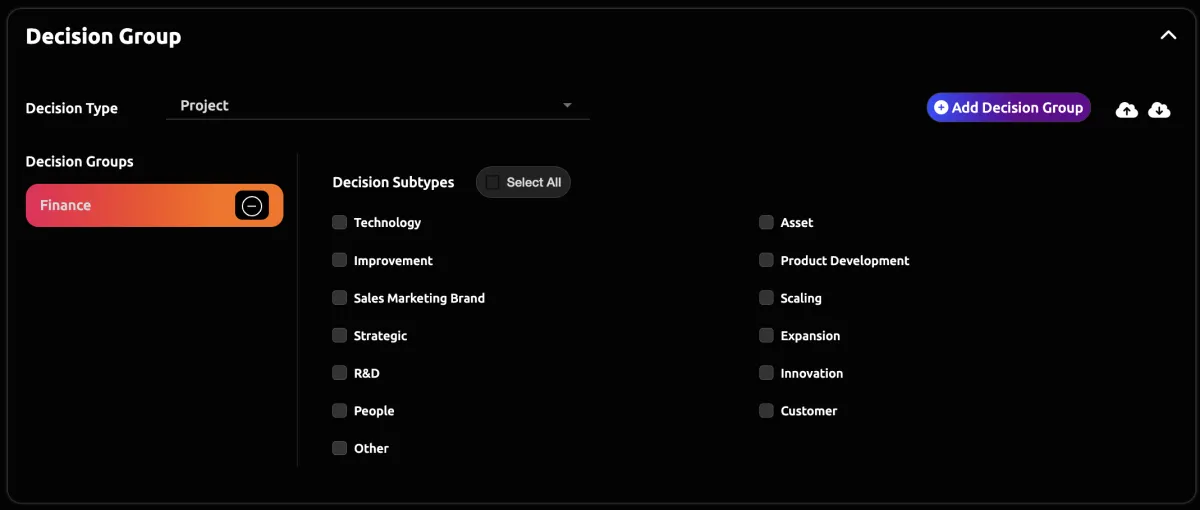
Allocate the Decision Sub-Type categories to this Decision Group by ticking all that apply.
Selecting Decision Sub-Types here has the impact of Users assigned to that Decision Group, being limited to creating and viewing decisions only in the Sub Types selected.
Adding Decision Groups via CSV:
1. Click the CSV Export button to download the import template.
2. Add the names of all the Decision Groups in column A of the CSV file.
3. Save File.
4. Click the CSV Import button and select the saved File.
5. Allocate the Decision Sub-Type categories to this Decision Group.

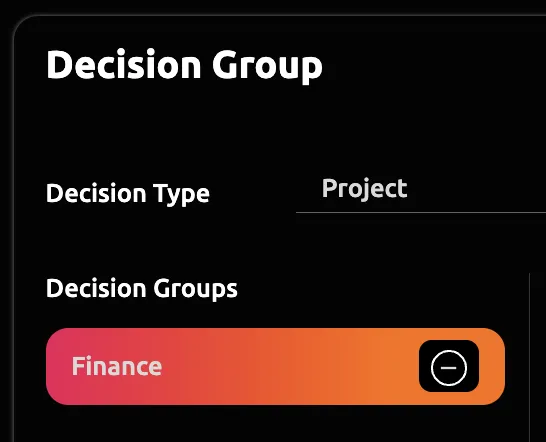
Delete a Decision Group
1. Go to Organization navigation menu on the left panel.
2. Click Decision Group to expand the menu.
3. Choose the Decision Group you would like to delete.
4. Press the delete icon against the Decision Group name.

CONTACT US
[email protected]
0421 08 9979
501 Bourke St, Melbourne
VIC 3000, Australia
COMPANY
RESOURCES
Copyright © DECISE 2026 All Rights Reserved.