

Decision Management
The primary objective of the Decise platform is for you to better manage the decisions you are making, for better decision outcomes.

In this section learn more about:

Preparing a Decision
Decision Workflows
Decision Priorities
Decision Verdicts
Decision Verdicts
Preparing a Decision
Decision Workflows
Decision Priorities
Decision Verdicts
Preparing a Decision
Preparing the business case for a decision in Decise is comprehensive but simple to do. In this help article we will walk you through all the steps required to plan, evaluate, and make a decision.
What you'll need
- Information about your decision
- Documents pertaining to your decision
Create a New Decision
Creating a new decision allows you to set up a structured process for evaluating and making informed choices within Decise.
1. Go to the Decisions area in the left navigation menu.
2. Click the Plus (+) icon to start a new decision.
3. Enter the Decision Title.
4. Next to the title, click on each category icon to select or input the following information:
- Decision Type Select the primary type of the decision.
- Decision Sub-Type Choose a specific sub-type for added context and decision controls.
- Project Value Enter the estimated value or budget of the project.
- Question Set Choose between Basic or Comprehensive question sets.
- Due Date Select the decision’s due date using the date picker.
5. Click Create. You’ll be redirected to Decision Detail page where you can begin answering the questions for the decision you just created.


Decision Type
Refer to this article that explains Decision Type.
Project Value
Your Organization can determine if the Project Value is the Cost of the Project or some other defined value.
Question Set
Choose from two options offered by Decise:
- Basic
A subset of questions from the Comprehensive Question Set, allowing for a shorter and therefore faster decision.
- Comprehensive
A detailed business case for the decision.
Edit a Decision
All decisions in Decise are live, this means you can Edit any decision by simply just changing anything in it.
1. Go to Decisions from the left navigation panel.
2. Open the decision you want to edit.
3. Change or edit any part of the decision and the updates will be saved live.
Clone a Decision
Cloning a decision is the same as copying a decision. Decise allows you to decide if you would like to clone a decision With or Without the current data in the decision you are copying. Use this feature where you have set up all of the details of a business case for one solution option, and now want to add the decisions for the alternative solution option. This avoids you having to re-enter all of the same communal information and responses multiple times.
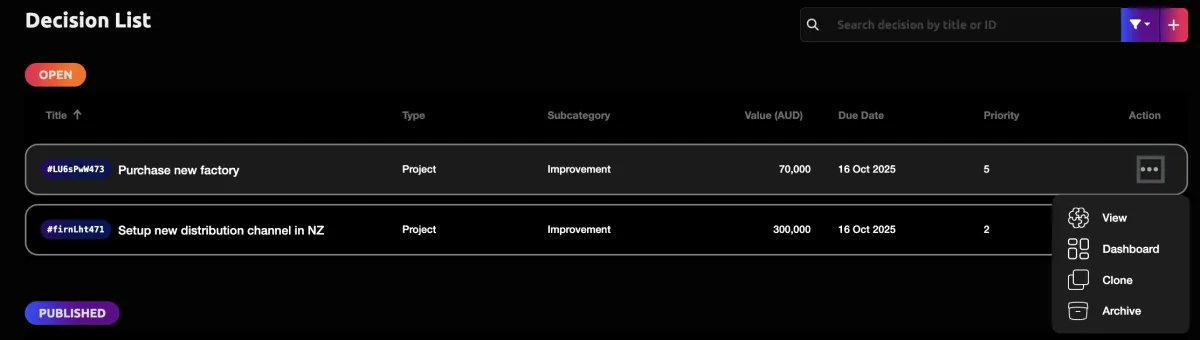
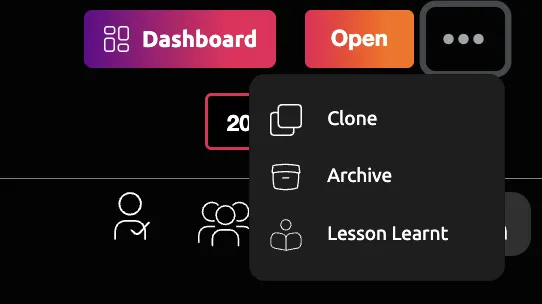
There are two areas you can choose the Clone decision option.
In the Decision List, you can select any decision and press the Elipsis button, and choose the Clone option.
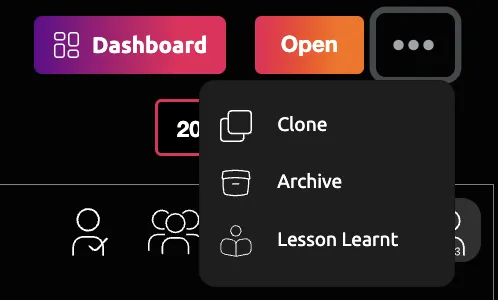
Alternatively if you are in a decision, you can press the Elipsis button and do it from there also.
TIP
Once a decision is cloned, it has its own Decision ID and no longer has a digital relationship between the cloned decision and the original decision. Therefore ensure the original decision is as close to final with the communal questions, prior to cloning.
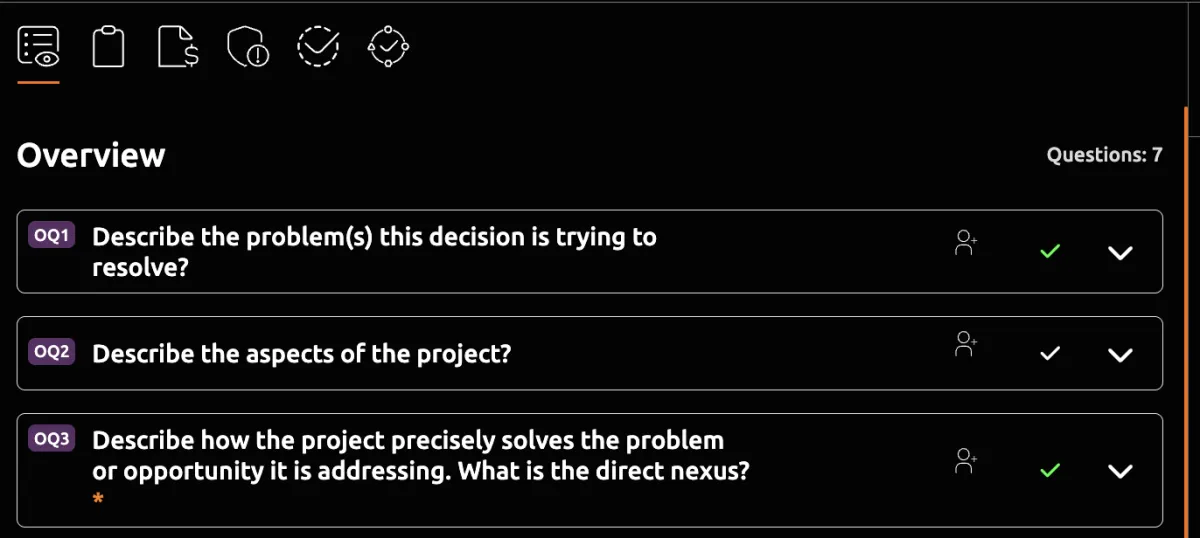
Question Sets
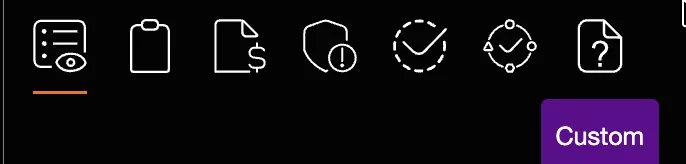
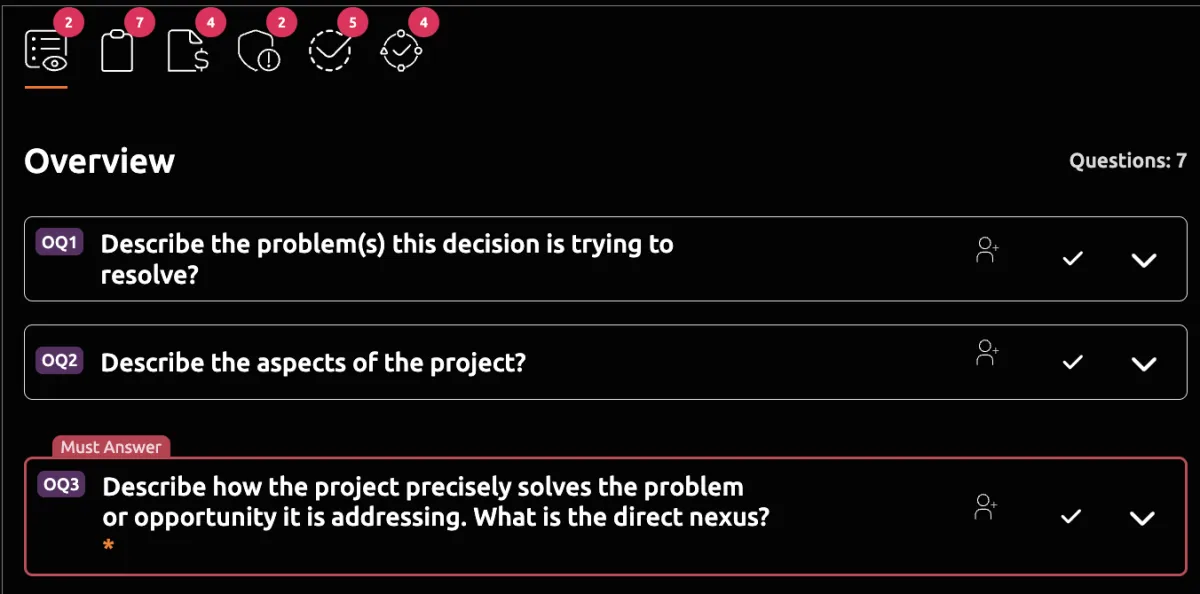
Question sets provide a structured way to gather essential information for each decision. They are divided into six groups, with answered questions marked by a green checkmark. Mandatory questions are indicated with an asterisk (*).
Question Set Groups
Overview: General questions about the decision’s context and purpose.
Project: Questions related to project planning and execution.
Financial: Financial analysis questions, including cost-benefit considerations.
Risk and Governance: Questions assessing potential risks and governance requirements.
Readiness: Evaluates organizational preparedness for implementing the decision.
Business Need: Ensures alignment with strategic objectives and business goals.
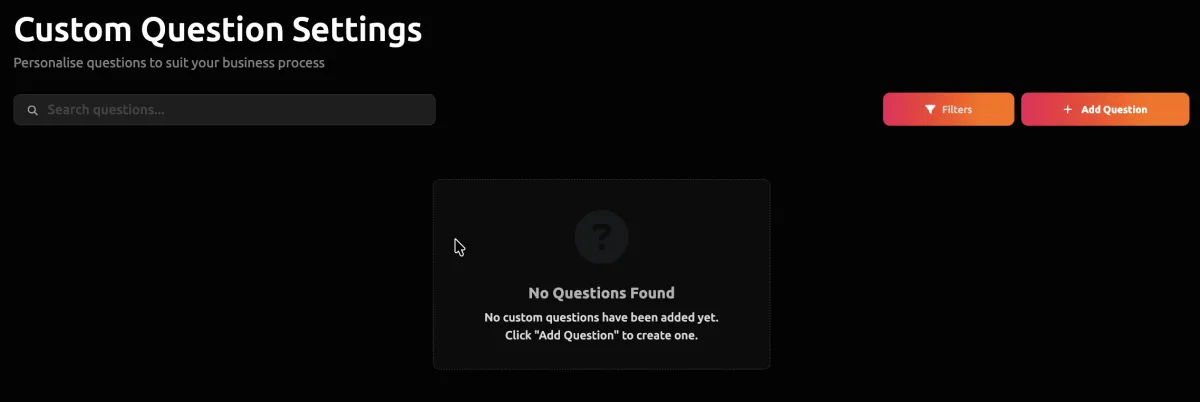
Custom Questions
You can create your own Custom Question Set to personalise your decision process. Different questions can be used for different decision sub-categories.
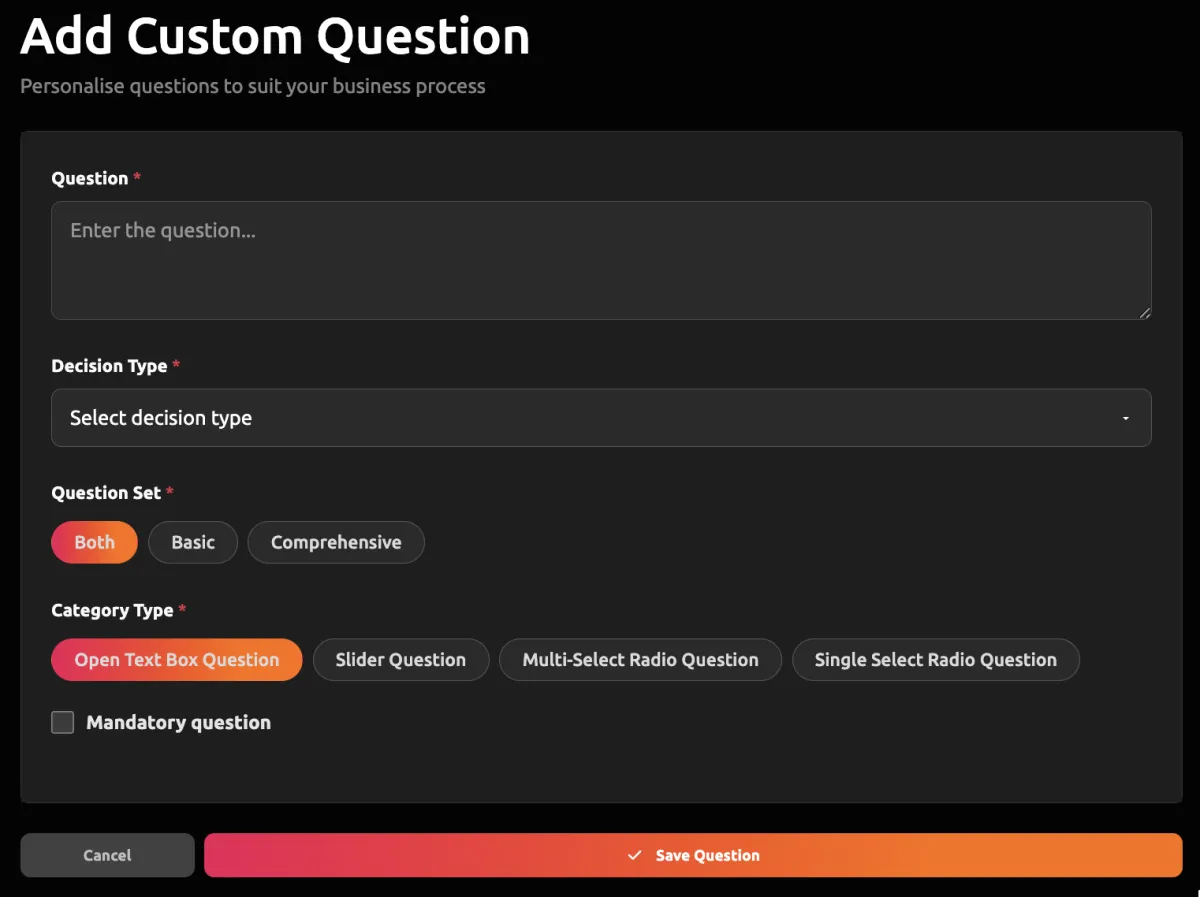
Adding a Custom Question
1. Navigate to Settings>Custom Questions
2. Press Add Question
3. Create the question
4. Select which Decision Type, Question Set and Category Type the question belongs to
5. Decide if it is a Mandatory Question
6. Press Save Question
The next time a new Decision is opened within the Categories chosen, you will see this new custom question appear in the Custom Question section.
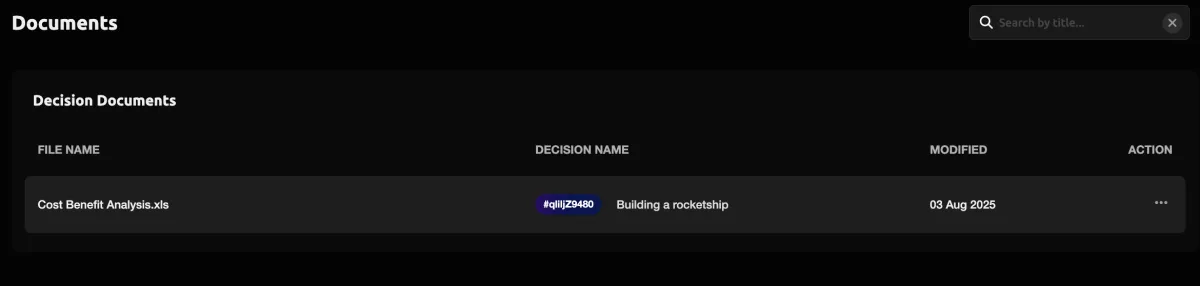
Uploading Supporting Files
Uploading supporting files allows you to attach relevant documents to each question set, providing additional context and information for your decision. Such as your Cost Benefit Analysis
1. Navigate to the Decisions List
2. Open the Decision
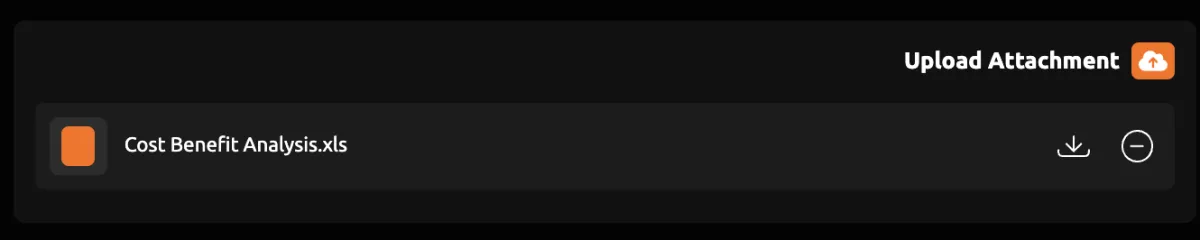
3. Scroll to the bottom of any question set Group.
4. Press Upload Attachment.
5. Select the file you want to attach and click Upload Files. Multiple files can be added at once.
You can Download or Delete any files attached at any time.
Answering Decision Questions
Regardless of whether you have chosen a Basic or Comprehensive Question Set, there are a certain number of questions that are mandatory for the Decise AI Dashboard to work.
For increased governance in your decision making process, we recommend considering answering all the relevant questions for the decision you are making. This is part of way better decisions can happen.
There are four different styles of question:
1. Open text box
2. Single select option
3. Multi-select options
4. Sliding scale bar
All questions Autosave.
If you press the Dashboard button and mandatory questions have not been answered, they will appear like the image on the right.
Selecting Financial Information
Every decision in Decise has to be in context of your financial position as an Organization. Refer to the article on how to add Financial Information.
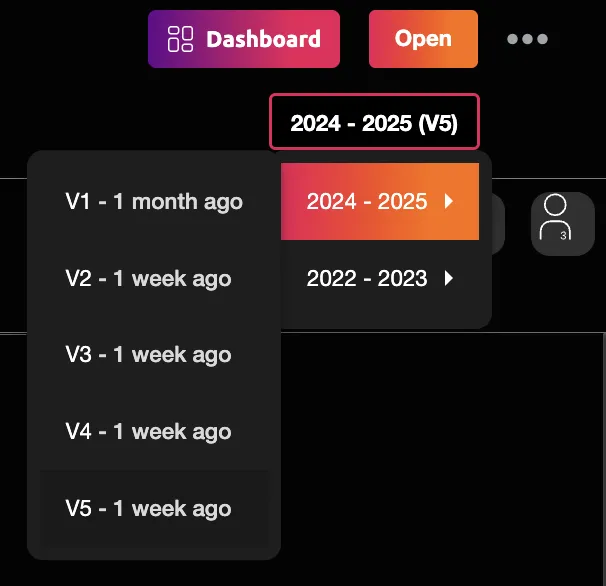
The AI Dashboard incorporates analysis of your custom financial circumstances when providing decision insights. Decise has provided your Organization with added flexibility to use any version of the Financial Information you want for the decision.
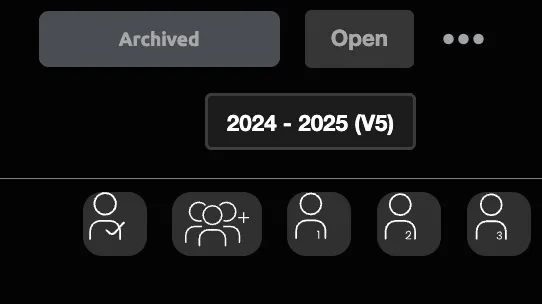
Suppose you have recently finished the financial year end number, and this is saved as Version 1. Now suppose a month later a major event occurred, and your team have updated the numbers accordingly in Version 2. When you review a decision in the Decision Pipeline List, that was started before this major event, it may have been by default connected to the latest financial year's data. However this decision would not be using the most recent information. You can update this decision to select Version 2 of the financial information now instead, to measure its impact on this pending decision.
Archive a Decision
For extra governance, you cannot Delete a decision in Decise. You can only Archive them. If you accidentally create a decision and you don't need it. You can edit this decision and make it become the next decision you need to prepare or you can Archive it and start a new one from scratch next time.
Once you have archived a Decision, it is locked.
An Administrator can Unarchive a decision at any time.
Unarchive a Decision
1. Navigate to the Decisions List in the left navigation panel.
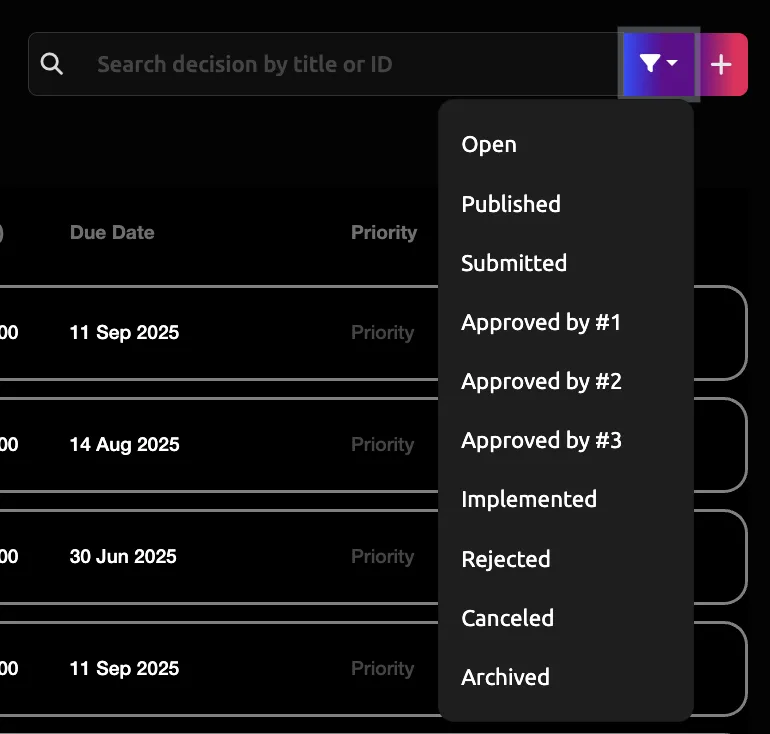
2. Press the Filter Icon in the top right corner.
3. Select Archived.
4. All of the Archived decisions will now appear.
5. Locate the decision you want to unarchive.
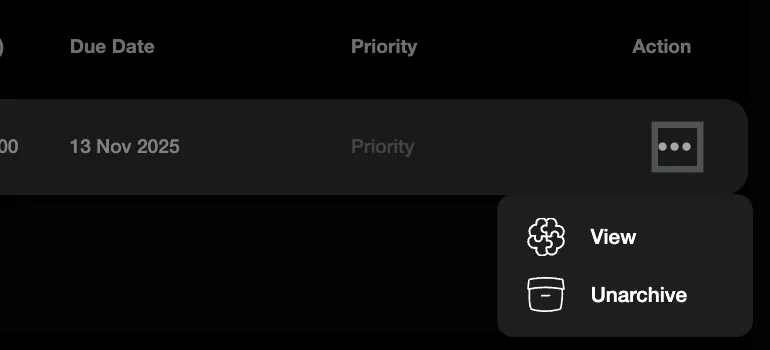
6. Press the ellipsis menu button.
7. Press the Unarchive button.
8. Confirm Yes to proceeding with the unarchiving.
This decision is now reinstated and will appear in the Decision List as it was previously to being archived.

CONTACT US
[email protected]
0421 08 9979
501 Bourke St, Melbourne
VIC 3000, Australia
COMPANY
RESOURCES
Copyright © DECISE 2026 All Rights Reserved.